
Blog
How to Make a Wreath in 5 Steps: Materials With Specs, Base Types, and the Cost Math

By Evercombe Team · Updated October 12, 2026 · 7-minute read
Quick answer: To make a wreath: (1) pick a base — wire frame, foam ring, or grapevine; (2) build small greenery bundles of 3-5 stems; (3) wire each bundle to the frame, overlapping the last by a third; (4) add flowers in odd-numbered groupings, then a bow or accent; (5) hide the mechanics, add a hanging loop, and fluff. Budget 30-60 minutes for a first wreath. Materials run $15-40; comparable finished wreaths run $40-150 (competitor prices as of September 2026).
Wreath-making has the best effort-to-result ratio in all of DIY decor, and it isn’t close. The loop shape does the design work for you, artificial stems forgive every beginner mistake fresh flowers never would, and a first attempt that looks merely decent on day one looks intentional after one fluffing pass. This guide uses artificial materials throughout — which is how the craft is mostly done now anyway — and covers the three base types, the wiring technique, the costs, and the fixes for the three classic rookie failures.
Materials (With the Specs That Matter)
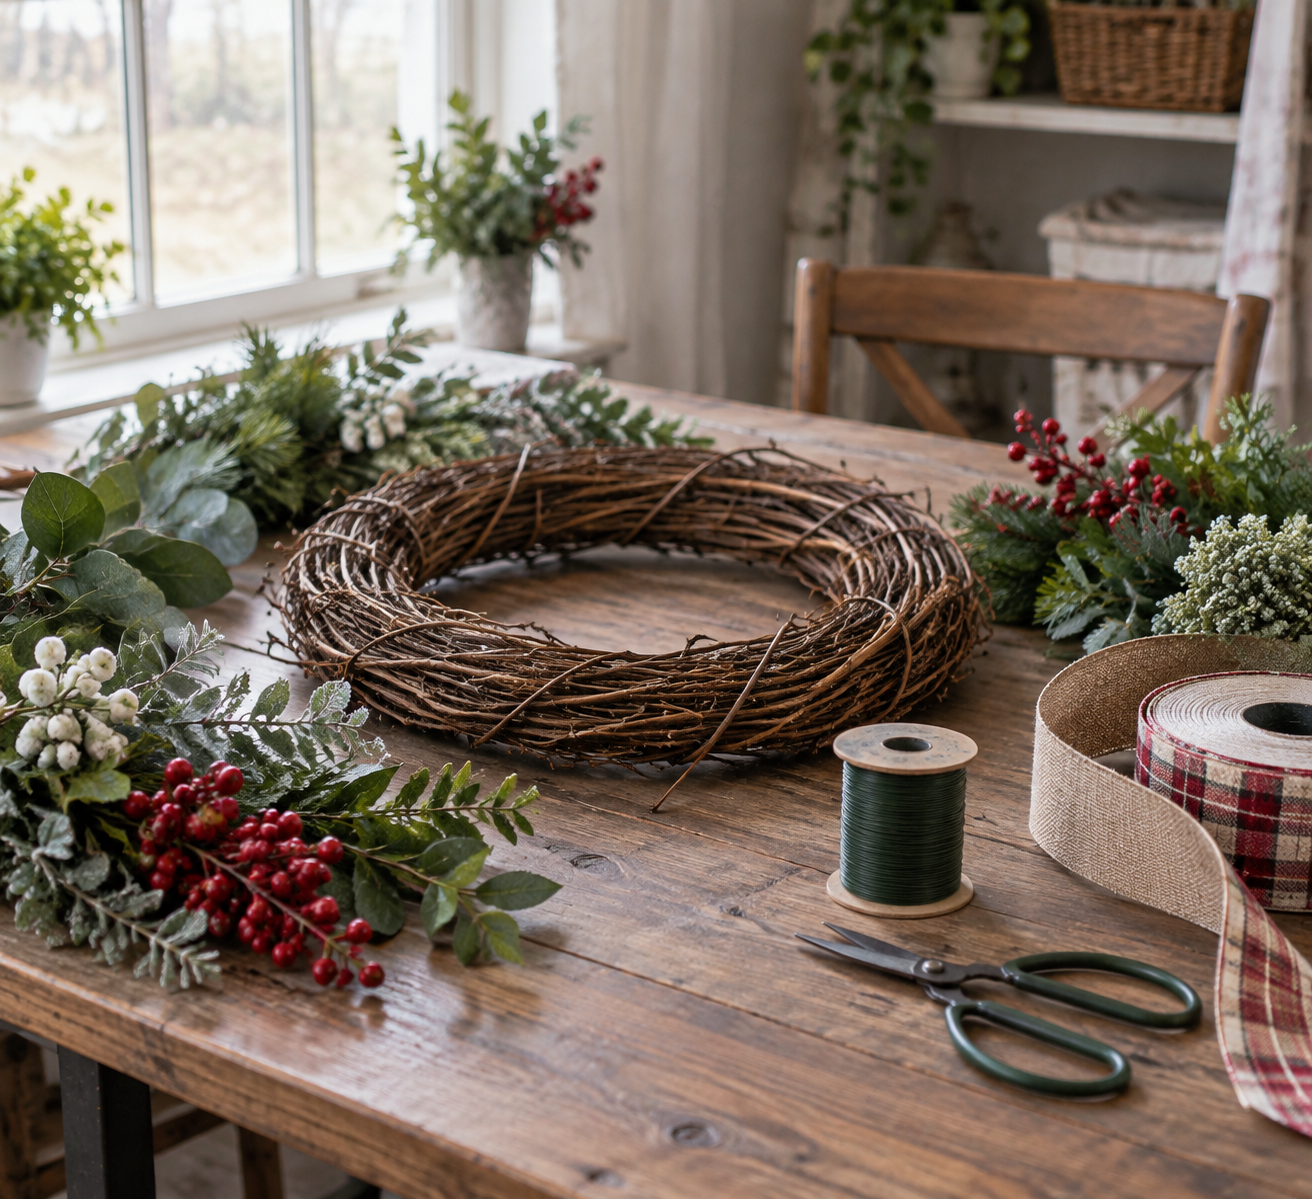
- A base: 12″ wire frame (most versatile starter size), 12-14″ foam ring, or a 14-16″ grapevine wreath — see the comparison below
- Greenery: 4-6 artificial garland strands or bushy picks — eucalyptus, cedar, or fern; the volume layer underneath everything
- Focal flowers: 3-5 artificial blooms or small clusters — hydrangea heads, peonies, sunflowers, or rose clusters
- Accent pieces: 2-3 small picks — berries, wheat, pinecones, or a secondary bloom color
- Floral wire: 22-24 gauge, on a paddle — the workhorse (24 gauge for delicate stems, 22 for heavy heads)
- Wire cutters and scissors
- Hot glue gun (optional but useful for heavy attachments)
- A loop of ribbon or twine for hanging
One rule of thumb for quantities: buy roughly a third more greenery than you think you need — sparse wreaths are the #1 beginner outcome, and extra greenery fixes everything.
Choose Your Base: The Table Nobody Publishes
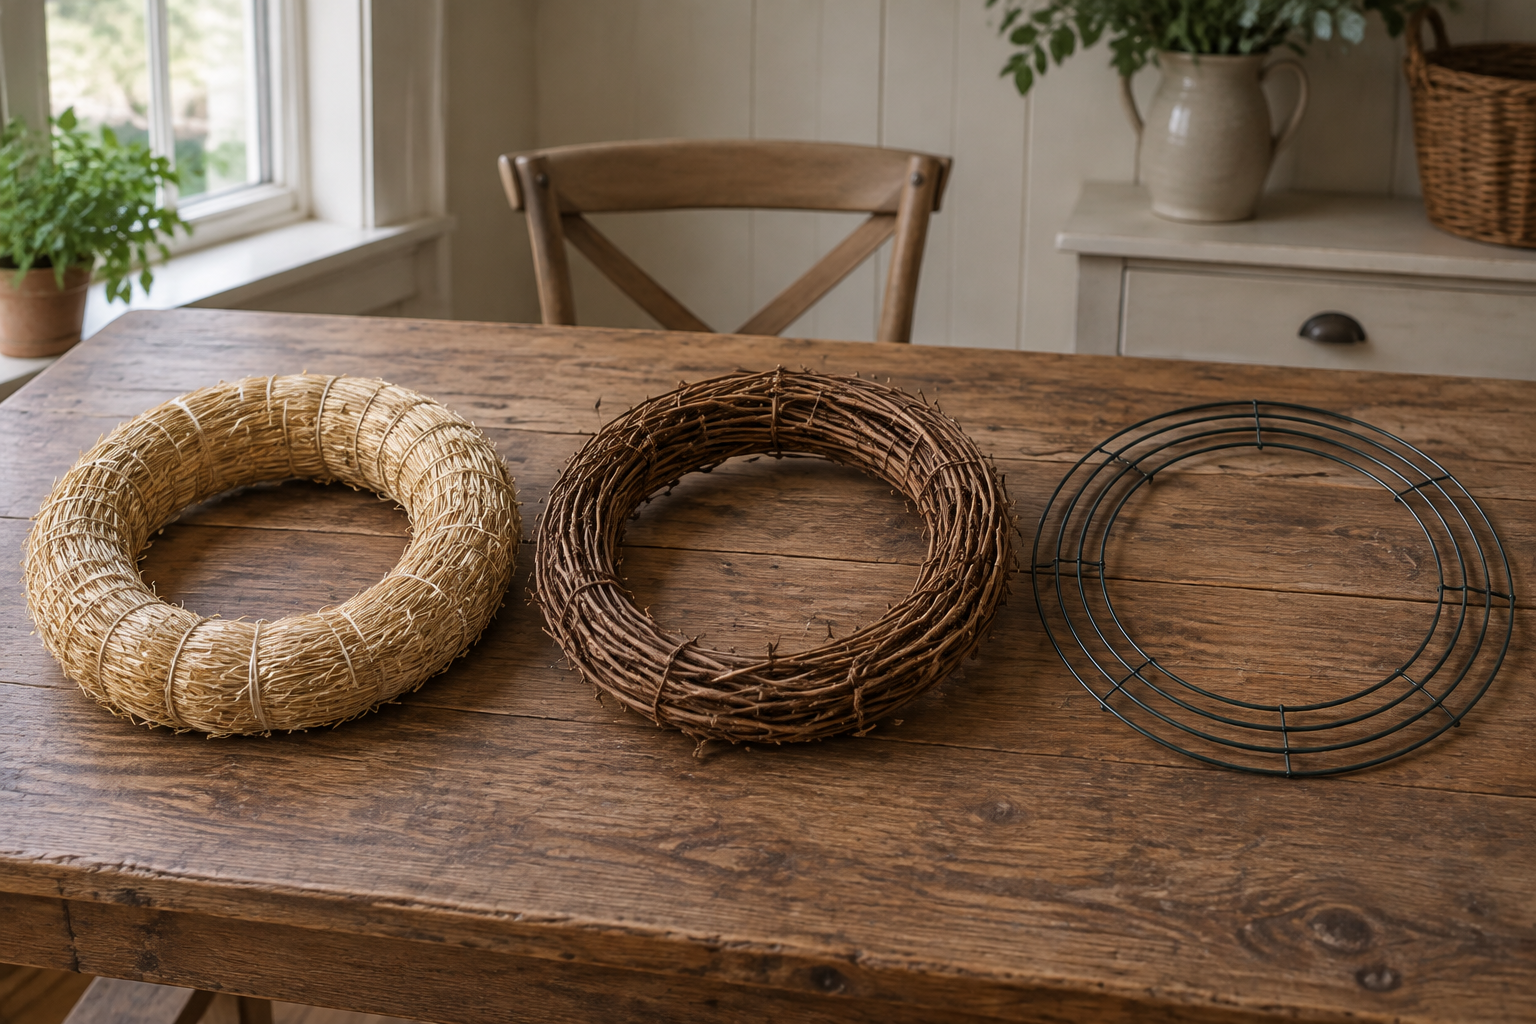
| Base | Best for | Watch out for |
|---|---|---|
| Wire frame (12-18″) | Fuller, layered wreaths; reusable frame for seasonal re-makes | Mechanics show through if under-filled — needs the most greenery |
| Foam ring | Glue-based projects, lightweight flowers, kids’ crafts | Heavier blooms need glue AND wiring; foam cracks under outdoor sun over seasons |
| Grapevine (14-16″) | Rustic styles; the base is already decoration | Uneven surface makes symmetric placement harder; hard to re-use for a different style |
The wire frame is the recommended first base: cheapest, most forgiving, and you can strip it and re-make it for every season — one frame, four wreaths a year. For an existing grapevine base, you only need the wiring steps below, skipping most of the greenery volume.
The 5 Steps
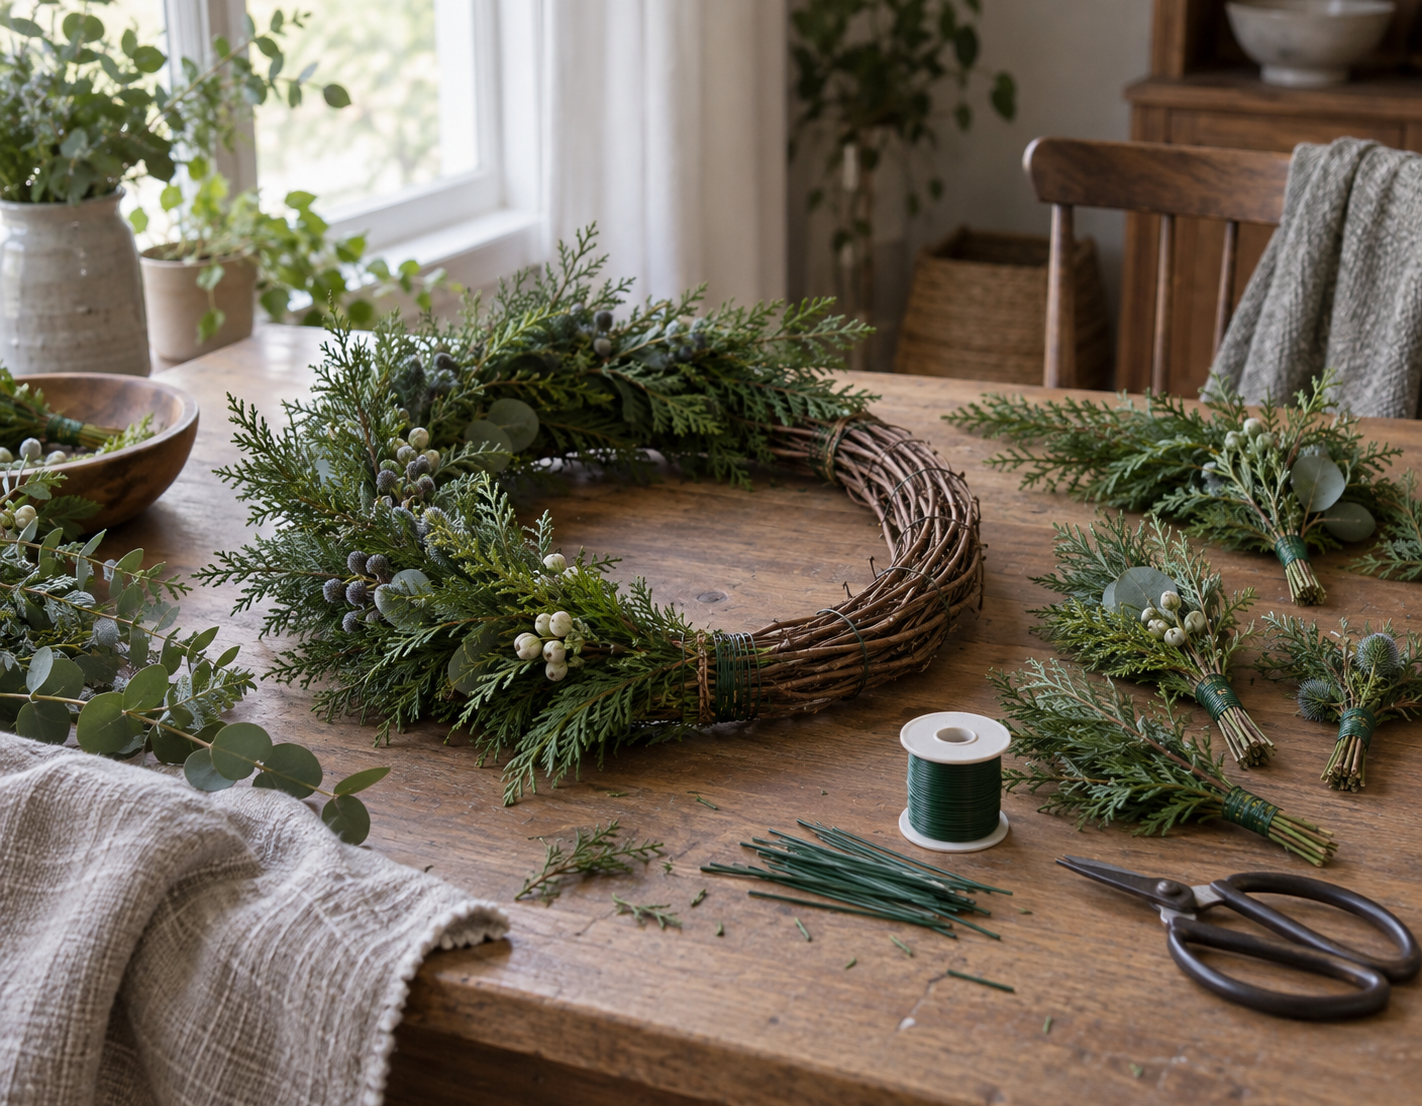
Step 1 — Prep the materials. Cut greenery into 6-8 inch sprigs. Strip lower leaves off flower stems by 2-3 inches where wire will grip. Plug in the glue gun now, not at the moment you need it.
Step 2 — Build the first greenery bundle. Lay 3-5 sprigs together, all facing the same direction, into a fan about 8 inches wide. Hold it against the frame’s inner ring at the point where you want the wreath to “start” (traditionally just left of the bottom-center — where a bow would later sit).
Step 3 — Wire it on, then repeat with overlap. Loop floral wire around bundle and frame together, 3-4 tight wraps, and — key move — do NOT cut the wire. Lay the next bundle over the previous one’s wire point, overlapping by about a third, wrap again. Continue around the frame in one direction. The uncut-wire chain is what holds everything under tension; beginners who cut between bundles get sag.
Step 4 — Add the flowers in threes. Once the greenery loop is complete, place focal flowers in odd-numbered groupings — a big bloom, then two smaller companions — spaced in a visual triangle around the face of the wreath. Wire or hot-glue the stems in at an angle that matches the greenery’s direction. Odd numbers read as arranged; even numbers read as accidental.
Step 5 — Finish: mechanics, loop, fluff. Wrap the final wire end under a bundle and twist it hidden. Tuck any visible wire or bare frame under greenery. Tie the hanging loop to the top of the frame itself (not the greenery — the greenery sags). Then the pass that separates homemade from handmade: fluff every sprig and petal outward and apart, rotating the wreath and checking it from four feet away, twice.
Troubleshooting the Three Classic Failures
- “It looks sparse.” Under-bought greenery, almost always. Fix: two more greenery picks layered into the low spots, or wrap a garland strand around the whole frame before adding bundles.
- “It’s lopsided.” The overlap direction flipped somewhere mid-loop — one bundle went the wrong way and dragged the eye. Fix: find the bundle that points against the flow, unwind it, re-set it with the grain.
- “Flowers fall off by the door.” Glue-only attachment on a heavy bloom. Fix: wire first (through the frame), then a dot of hot glue at the stem base as insurance. Heavy heads need both.
What It Costs vs. Buying One
| Route | Typical range | Notes |
|---|---|---|
| DIY materials (artificial) | $15-40 (competitor prices as of September 2026) | Frame $3-8, greenery $8-20, flowers $5-15 if not shopped from existing craft stock |
| Finished designer wreath | $40-150 (competitor prices as of September 2026) | Handmade-wreath market pricing; custom monogram and seasonal pieces at the top |
| Craft-store finished (mass-produced) | $20-60 (competitor prices as of September 2026) | The look level most DIY wreaths beat after two attempts |
The honest math: the first DIY wreath roughly breaks even against a craft-store wreath once you buy wire cutters. The second one is cheaper than anything comparable — and if you re-use the wire frame and leftover materials across seasons, the cost per wreath drops toward $10-15 in materials (competitor prices as of September 2026). The non-dollar return is the real one: exact color match to your door, any size you want, and a base you can strip and rebuild for every season.
Seasonal Variations (Where the Base Re-Use Pays Off)
The same frame carries the whole calendar: cedar and pine with red berries for Christmas wreaths, marigold golds and deep reds for fall wreaths, tulip and lavender tones for spring. Front-door exposure is the one real constraint — sun-facing doors fade silk florals faster, and UV-resistant stems exist for exactly that spot. For hanging hardware and placement (height, door type, storm doors), see our how to hang a wreath on a front door guide; for inspiration before the materials run, our Christmas wreath ideas collection is organized by style.
FAQ
What do I need to make a wreath as a beginner?
A 12-inch wire frame, 4-6 artificial greenery picks, 3-5 focal flowers, 22-24 gauge floral wire, wire cutters, and ribbon for the loop — roughly $15-40 in materials (competitor prices as of September 2026) and 30-60 minutes for a first attempt.
Which wreath base is best?
A wire frame for full layered wreaths (and seasonal re-use), foam rings for glue-based lightweight projects, grapevine for rustic styles where the base is part of the look. Beginners get the most from the wire frame — see the comparison table above.
How many flowers does a wreath need?
3-5 focal blooms placed in odd-numbered groupings, over a full layer of greenery. The greenery does the volume; the flowers do the punctuation. Under-greening, not under-flowering, is the standard beginner error.
Is it cheaper to make a wreath or buy one?
The first DIY wreath roughly breaks even with craft-store pricing ($15-40 in materials vs. $20-60 finished (competitor prices as of September 2026)); from the second wreath on — especially re-using the frame — DIY runs $10-15 in materials against $40-150 designer pricing (competitor prices as of September 2026).
Can I use a real wreath base with artificial flowers?
Yes, and it’s the standard combo — grapevine bases with artificial stems and picks. The reverse (fresh flowers on a wire frame) is a shorter-lived project better suited to table runners than door duty.
How do I keep a wreath looking full?
Fluff and rotate it monthly — silk petals and sprigs compress in storage and shipping. For sun-exposed doors, choose UV-resistant stems and expect to refresh a standard silk wreath’s colors after a full outdoor season.
Keep Reading
- How to Hang a Wreath on a Front Door — placement, height, and hardware
- Christmas Wreath Ideas — styles organized before you build one
- Shop finished instead: Christmas wreaths · fall wreaths · front door wreaths