
Blog
How to Make a Flower Wall: Panel Choice, Stem Counts per Square Foot, and 5 Build Steps

By Evercombe Team · Updated October 13, 2026 · 6-minute read
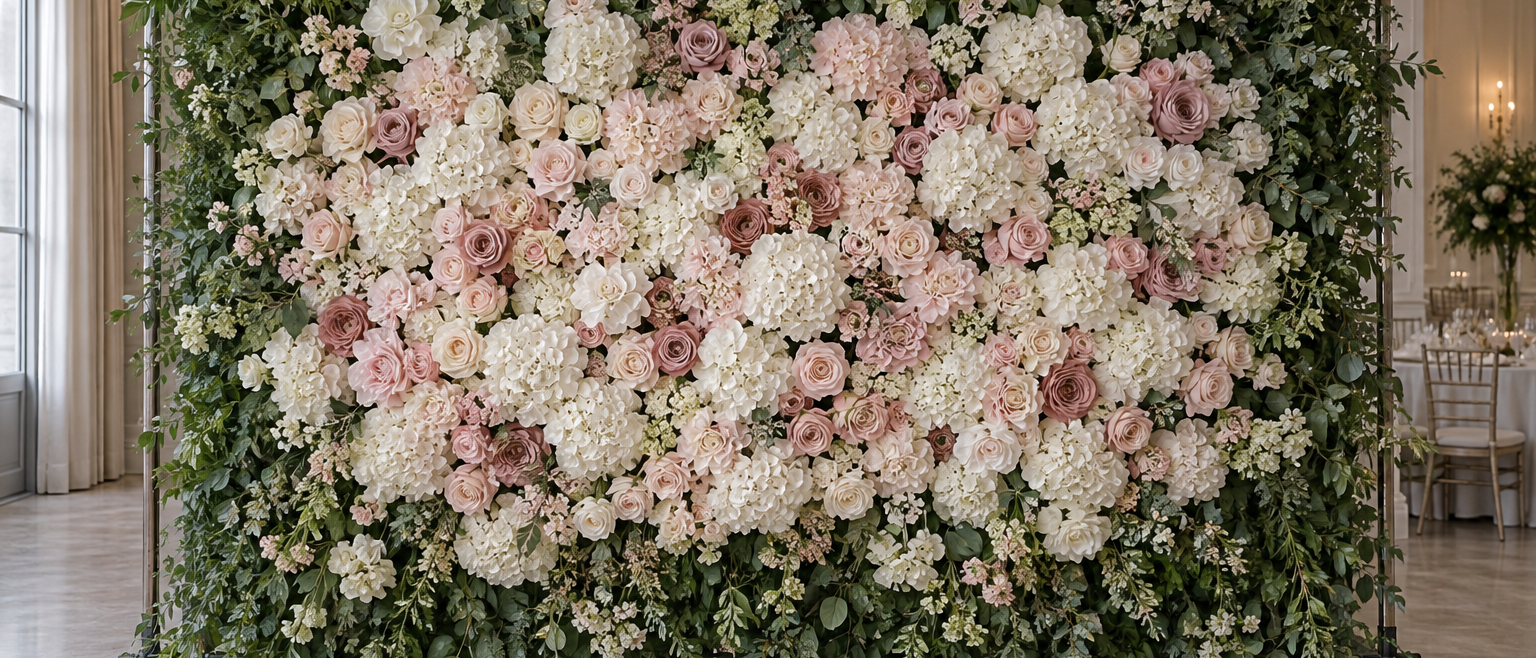
Quick answer: A flower wall is a backdrop panel system plus stems pushed or glued at graduated density — dense at the center and eye line, thinner toward the edges. Pick a panel (floral grid, plywood, or fabric over a frame), budget 5–8 bloom heads per square foot for full coverage (typical market spec), and build in five steps: frame, stage, anchor, gradient, edge. An 8×8 ft wall takes 320–500 heads and two people a full day; a 4×4 photo-corner wall takes a quarter of that and is the recommended first project.
Flower walls photograph as one seamless object, but every one of them is built as modules: panels that assemble, and stems that attach to panels. Once you think in modules — and in density zones rather than uniform stuffing — the project stops being intimidating and becomes scheduling. This guide covers the panel choice, the honest math on stem counts and weight, the five-step build, and what it costs against buying a pre-made wall.
Pick Your Panel System First
| Panel system | What it is | Stems attach by | Best for | Notes |
|---|---|---|---|---|
| Floral grid panel | Rigid plastic mesh, ~7 cm openings (typical market spec) | Stem wires pushed through and bent | First builds, rentals, reuse | The standard; panels zip-tie together |
| Plywood + foam | Plywood sheet with hot-glued floral foam | Glue or foam picks | Curved or custom shapes | Heavier; single-use foam |
| Fabric over frame | Tight fabric (felt/canvas) on a stand | Glue gun directly | Budget one-day events | Lightest; least reusable |
Grid panels are the recommendation for almost everyone: they attach, disassemble, and reconfigure, and a wall built once for a wedding becomes the photo corner at the next event. Ready-styled wall panels and kits: flower wall.
The Stem Math (Do This Before Buying Anything)
Full-coverage walls run 5–8 bloom heads per square foot — the low end for big-headed blooms (hydrangeas, peonies), the high end for roses and ranunculus (typical market specs). So:
- 4×4 ft photo wall: 80–130 heads — the starter project, one person, one weekend
- 8×8 ft ceremony backdrop: 320–510 heads — two people, staged assembly
- Head-table runner (2×8 ft): 80–130 heads, denser per foot because it’s viewed close
The density trick that saves 30–40% of the stem budget: gradient density. Full coverage at eye level and center; blossoms and greenery at 60–70% density outward; bare panel or greenery-only at the very edges. Nobody photographs the bottom left corner. Greenery fills square footage the way blooms can’t afford to.
How to Build It, Step by Step
Step 1: Frame and Mount the Panels
Assemble the grid panels into your final footprint on the floor first, zip-tie the panel joints, then stand and secure the wall to its base or wall anchors. Do the anchoring now, not after decorating — a loaded wall is heavy and awkward. An 8×8 ft grid wall with stems runs meaningfully heavy; plan two people for the stand and check that venue rules allow wall-anchoring at all.
Step 2: Cut and Stage Your Stems
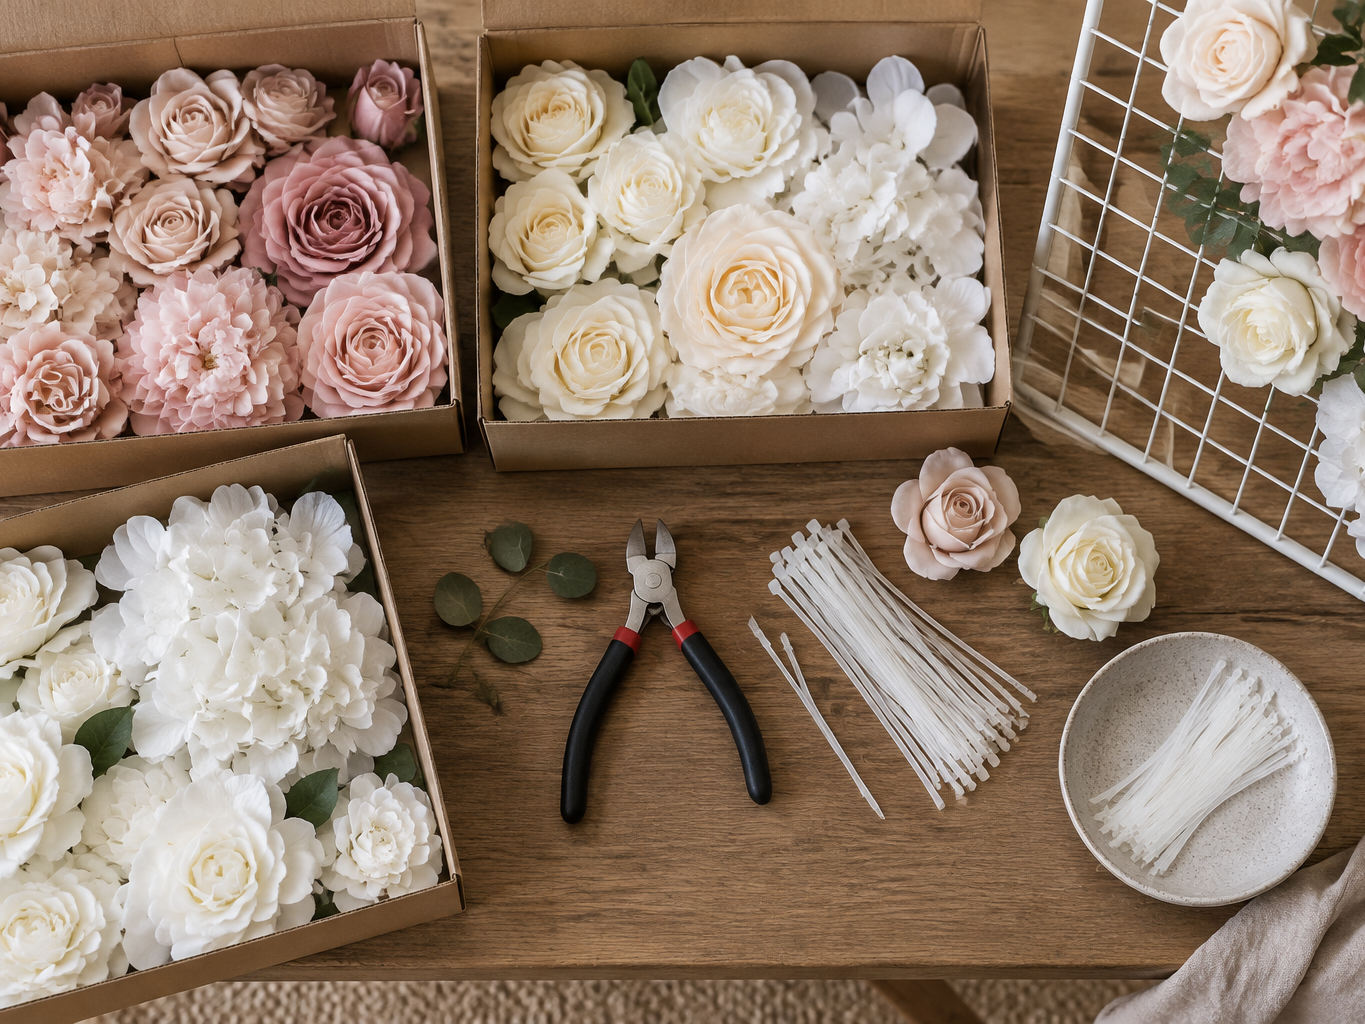
Cut every stem to 4–6 in. — you’re placing heads, not stems — and sort them into three staging boxes: hero blooms (peonies, garden roses), secondary blooms (smaller roses, ranunculus), and greenery. Staging is the step DIY builders skip and then regret, because halfway up a ladder is the wrong place to realize the ranunculus box is across the room. Bulk stems and picks for staging: flower picks and sprays.
Step 3: Anchor the Base Layer
Push greenery stems through the grid from the bottom third of the wall upward, bending the wire tails flat behind the panel. This base layer hides the panel itself so any bloom gaps read as intentional showing through foliage, not as bare plastic.
Step 4: Build the Density Gradient
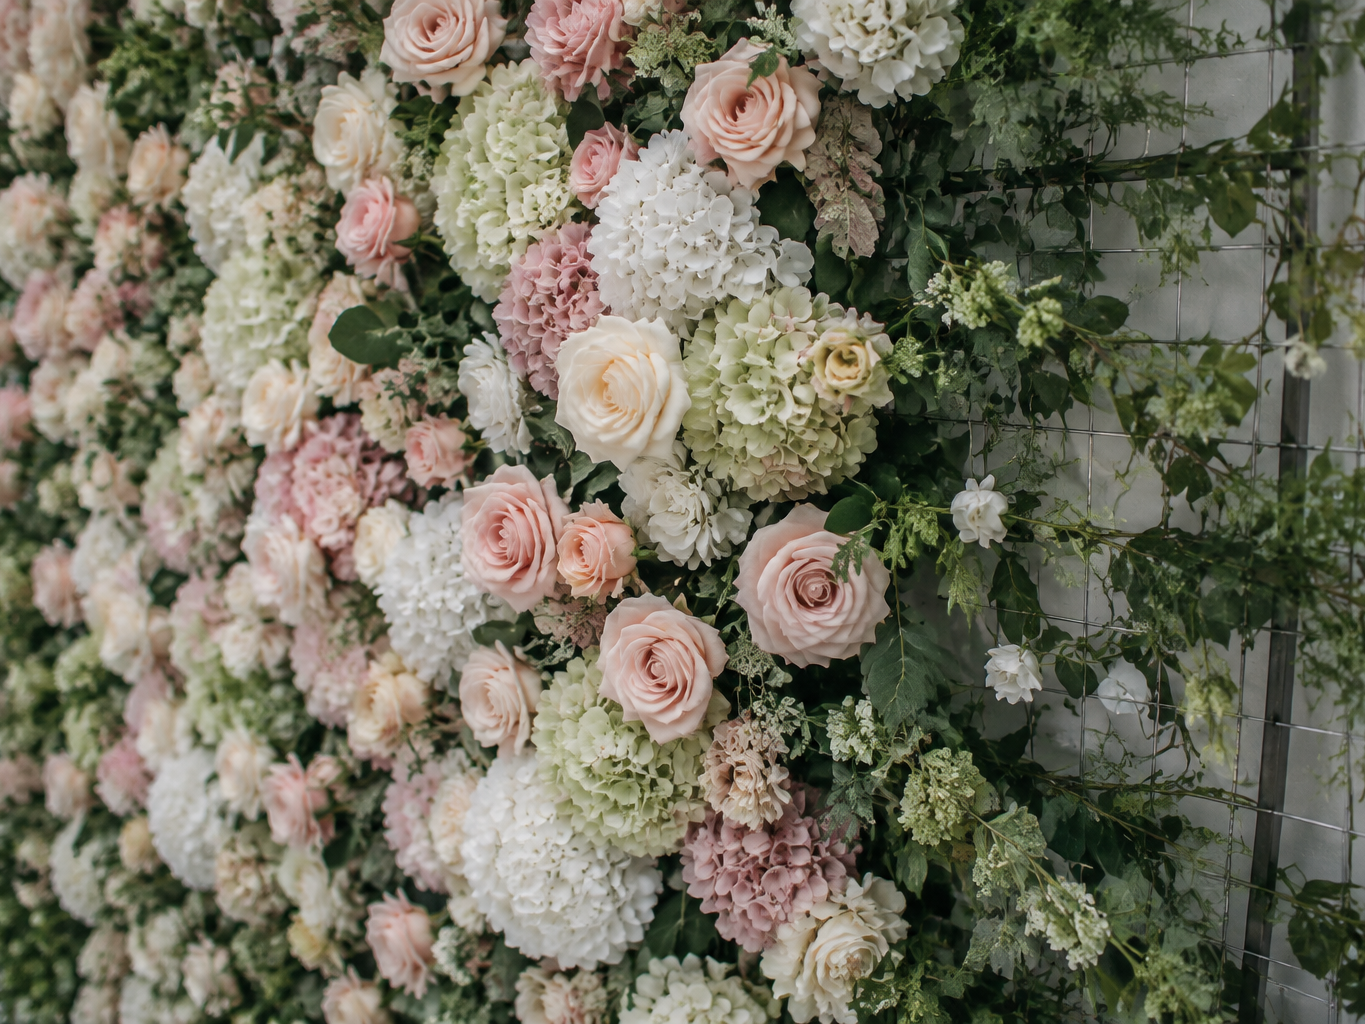
Work in a diamond around the eye-level center point: heroes first at full density, then secondary blooms filling outward at 2–4 in. spacing, then sparse singles toward the edges. Step back every few square feet — the wall reads at four feet what it hides at four inches, and gradient errors are only visible from a distance.
Step 5: Finish the Edges
Wrap the outer frame edge in greenery garland or fabric tape so the panel structure disappears from side angles, and add lighting (string lights behind the top edge, or uplights at the base) — lighting is half of what makes flower walls photograph the way they do.
Variants
- The photo-corner half wall — 4×4 ft on a stand, single-sided; the first-project recommendation
- The ceremony-to-reception wall — build in 2×4 ft modules that reconfigure between events, which grid panels make trivially easy
- The head-table runner — 2×8 ft at high density, echoing the centerpieces; pairs with the wedding centerpiece and wedding arch builds for a single designed look
What It Costs: Building vs. Buying
| Route | 4×4 ft wall | 8×8 ft wall | Notes |
|---|---|---|---|
| DIY (bulk stems + grid panels) | $150–350 | $400–900 | Stem bulk sleeves; panels reusable |
| Pre-made wall panels | $200–500 | $600–1,400 | Faster; limited color control |
| Full custom build (pro) | — | $1,500+ | Delivered and installed |
(Material and product ranges, US, as of October 2026.) The honest decision rule: build when color matching matters (an exact palette from wedding color palettes) or when the wall will be reused; buy pre-made when the wall is a one-night item and storage is finite.
Troubleshooting
- Gaps reading as holes — you’re at uniform density and the wall wants gradient; cluster two heroes where the hole is, don’t spread singles.
- Heads drooping off the panel — stems cut too long; 4–6 in. keeps the anchor close to the panel.
- Wall leaning by evening — the base wasn’t weighted for the loaded mass; re-check anchoring after the greenery layer, when the wall is at half its final weight.
FAQ
How many flowers does it take to make a flower wall?
Plan 5–8 bloom heads per square foot for full coverage, plus greenery at roughly 2–3 stems per square foot as the base layer (typical market specs). A 4×4 ft photo wall needs 80–130 heads; an 8×8 ft backdrop needs 320–510. Gradient density cuts those counts 30–40% without a visible difference in photos.
What is the best backing for a flower wall?
Floral grid panels — rigid mesh with ~7 cm openings — are the standard: stem wires push through and self-anchor, panels connect into any footprint, and the whole wall disassembles for reuse. Plywood-plus-foam suits curved custom shapes; fabric-over-frame suits light one-day events.
Can I rent a flower wall instead of building one?
In most metros, yes — rental runs $300–800 for a standard 8×8 ft weekend (typical market ranges, October 2026). Renting wins for one-night events with a standard palette; building wins when the palette is specific, the wall will be reused, or rental supply is thin in your area. Pre-made panel options: flower wall.
How long does it take to build a flower wall?
A 4×4 ft wall is a one-person weekend project (4–6 hours of actual build); an 8×8 ft wall is two people for a full day including staging and edge finishing. Stems cut and staged in advance cut the on-ladder time in half.
Do flower walls work outdoors?
Yes, with two adjustments: weight the base seriously (wind load on a loaded wall is real), and choose UV-rated stems for anything in direct sun — standard stems degrade under constant UV, slower in shade than in full sun, but “slower, not never.”
Related Builds
- The matching ceremony piece: DIY wedding arch flowers
- The table layer: wedding centerpieces with artificial flowers
- Panels and stems: flower wall · picks and sprays · arrangements
- The color system behind every choice: wedding color palettes